Here’s the thing about bed bugs: They don’t just invade your home, they invade your peace of mind.
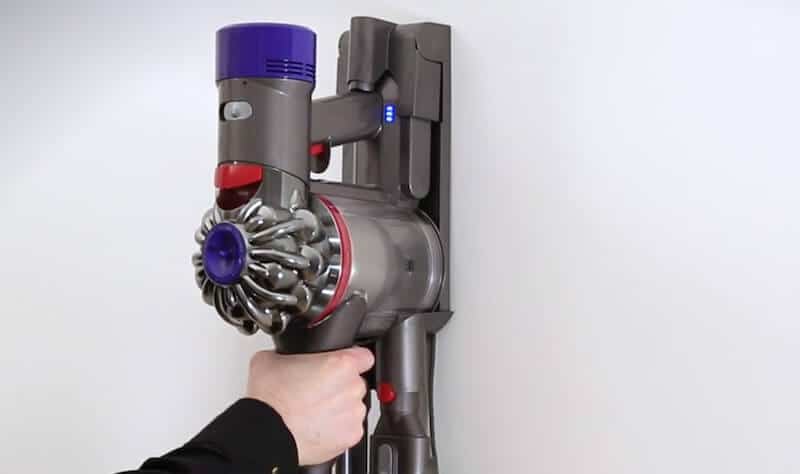
I learned that the hard way (and if you’re curious, I’ll explain exactly why I hate bed bugs in a moment). And like most people facing an infestation, my first instinct was to grab the vacuum cleaner.
Makes sense… until you realize something most folks don’t: Bed bugs can survive inside your vacuum!
Seriously, vacuuming doesn’t kill them. They can ride it out and hide in the hose, the brush head or the canister. They’ll set up shop wherever they can.
Which raises the real question: Is your vacuum actually clean, or is it about to become a bed bug distribution device?
Let’s make sure it’s the former.
Can vacuuming bed bugs accidentally make the infestation worse?Yes. If your vacuum isn’t cleaned properly afterward, surviving bed bugs or their eggs can escape back into your home or spread to new areas. A vacuum is great for removing them from surfaces, but it can also become a hiding place (and a reinfestation risk) unless you sanitize it thoroughly.
Steps to Clean Your Vacuum After Bed Bugs
After vacuuming bed bugs, it’s crucial to clean your vacuum cleaner properly to stop any remaining insects or eggs from escaping and causing a new infestation. Whether you use a bagless model, a bagged unit, or another type of cleaning device, these steps will help you safely sanitize the machine, treat key components, and ensure no pests remain inside the suction system.
1. Empty the Vacuum Immediately After Vacuuming
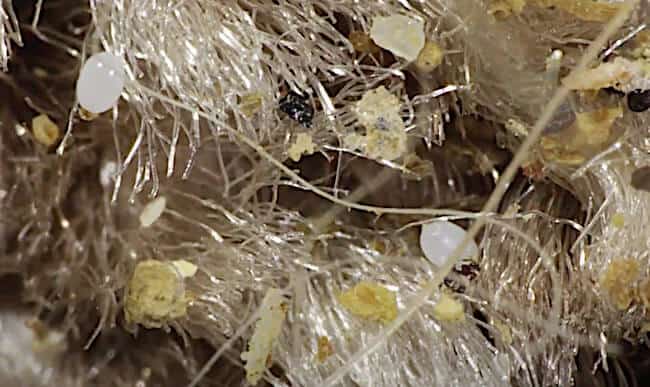
Vacuuming is useful for removing live bed bugs and their shed skins, but it doesn’t kill them. Research from multiple pest management programs shows that bed bugs and their eggs can survive inside vacuum bags and canisters, especially in dark, enclosed spaces. Because of this, you should empty the vacuum immediately after every vacuuming session, not hours or days later.
For bagged vacuums, remove the vacuum bag carefully, place it directly into a sealed plastic bag, and dispose of it outdoors. For bagless vacuums, empty the dust canister into a sealed bag, then wipe the canister with hot, soapy water… more of this will be discussed in detail in part 3. Use Heat or Steam to Kill Any Bed Bugs Inside
Don’t forget the crevice tool and other attachments, these are common hiding spots due to their narrow, protected interiors. A quick rinse or blast of air through the suction hose can help dislodge any remaining insects or eggs.
Emptying the vacuum promptly is one of the simplest ways to prevent a secondary infestation, especially since surveys estimate that 1 in 5 households encounters bed bugs or knows someone who has [1]. Proper disposal reduces the risk of bed bugs crawling back out and reestablishing themselves in your home.
2. Treat Outside of Vacuum with a Bed Bug-Safe Pesticide
After emptying the vacuum, it’s important to treat the external vacuum surfaces with a bed bug-safe insecticide spray. Bed bugs are highly mobile, and studies show they can travel 5 feet per minute when searching for shelter [2], meaning any bugs clinging to the outside of your machine could quickly relocate. A light application of a pyrethrin or pyrethroid formulation, or another residual pesticide approved for integrated pest management (IPM), helps create a chemical barrier that stops survivors before they escape.
This step is especially useful if you’ve noticed bed bug bites but see no sign of them, as bed bugs often hide in cracks or on equipment used during cleaning. It also helps if your vacuum cleaner smells, which can indicate trapped debris or potential insect activity. Remember to treat only the exterior as spraying inside the vacuum can damage components and disrupt airflow.
Choose contact kill products or non-repellent insecticides for effective pest control treatment, and allow the surfaces to dry fully before storing the vacuum. A quick mist of sanitizing spray can be added afterward to remove lingering odors and debris.
3. Use Heat or Steam to Kill Any Bed Bugs Inside
Heat is one of the most reliable forms of pest eradication, and it works exceptionally well on bed bugs hiding in interior vacuum components. Research shows that the bed bug thermal death point depends on both temperature and exposure time, with adults dying after 90 minutes at 113°F (45°C) or within 20 minutes at 118°F (48°C), while eggs require 90 minutes at 118°F, making thermal treatment a reliable and effective option [3].
Using a steam cleaner provides high-temperature sanitation and moisture-assisted heat, helping steam penetrate small crevices where bed bugs or eggs may remain. Direct steam into the hose, brush head, and canister area to neutralize insects that survived suction or mechanical removal.
Avoid applying steam near electrical parts or the motor housing. Use heat only on non-electrical components, as moisture and high temperatures can damage wiring or internal circuits.
Short, controlled heat exposure is enough to achieve desiccation and kill both adults and eggs—steam evaporates quickly, minimizing damage while maximizing effectiveness.
A brief thermal pass ensures the vacuum doesn’t become a hidden reservoir for reinfestation.
4. Wash All Removable Parts to Remove Bugs and Eggs
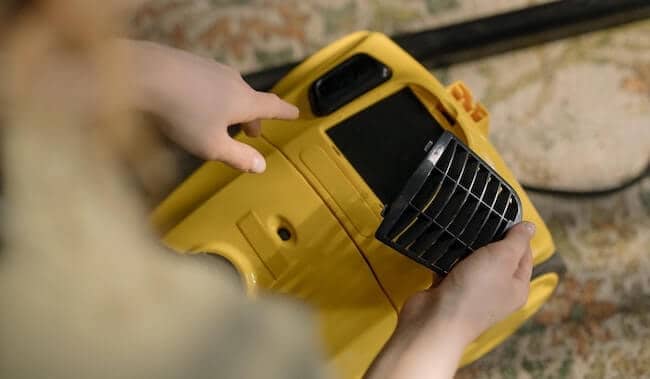
After vacuuming, any vacuum attachments, including the brush head, crevice tool, and suction hose, should be washed thoroughly to ensure complete mechanical removal of bed bugs and their eggs. Studies show that bed bug eggs adhere strongly to rough surfaces as they are coated with a sticky substance [4]. So a deep cleaning process is essential to dislodge them.
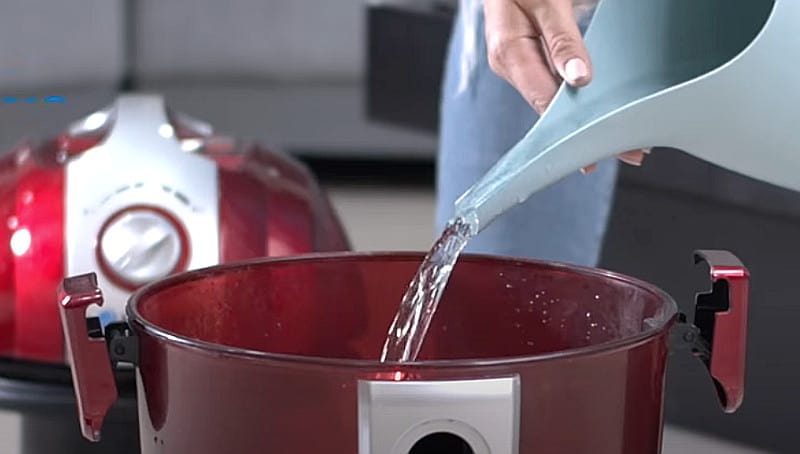
Wash washable filters, filtration components, and removable plastic parts using soap and hot water. Exposure to hot water aids debris removal and helps kill insects that survived suction. Focus on brush head cleaning and hose rinsing, as these narrow areas often trap insects.
Finish with a sanitizing wash to remove residue and reduce odors. Proper cleaning prevents eggs or nymphs from remaining inside the equipment and reduces the risk of reintroducing pests into your home.
5. Seal the Vacuum in a Plastic Bag to Prevent Reinfestation
Once cleaning is complete, placing the entire vacuum inside a sealed plastic bag is an effective containment strategy that prevents any surviving bed bugs from escaping. This isolation method works because bed bugs have limited mobility inside smooth surfaces and cannot chew through plastic sheeting. Studies indicate that bed bugs can survive for several weeks without feeding, so maintaining an appropriate quarantine period helps ensure full mortality [5].
Use airtight sealing to create an escape-proof enclosure, and store the vacuum in a low-traffic area until you are confident that no insects remain alive. This simple step supports re-infestation prevention by stopping hidden bed bugs from reentering your living space during or after vacuum storage.
Final Steps to Keep Your Home Pest-Free
Bed bugs may not be dangerous in the medical sense, but anyone who has dealt with them knows the truth: they take over your sleep, your routine, and your peace of mind. Even a small infestation can make your home feel uncomfortable and unclean.
Vacuuming is one of the quickest ways to knock down their numbers, but what you do after vacuuming matters just as much. That’s why cleaning the vacuum properly isn’t just a housekeeping chore; it’s part of your overall defense strategy.
The five steps above give you everything you need to keep your vacuum from becoming a hideout, a hitchhiking hub, or an accidental reinfestation tool. Follow them, and you’ll stay ahead of any stragglers, eggs, or unseen survivors.
Bed bugs are stubborn, but with the right approach, they don’t stand a chance—and now your vacuum isn’t on their side anymore.