The first time I tried removing paint from wood floors… it was a disaster. I scratched the surface, missed half the paint, and ended up with floors that looked worse than when I started.
The good news? Removing paint from wood floors isn’t nearly as intimidating as it sounds, if you use the right tools and take your time. Patience, precision, and a careful approach make all the difference. It’s really a confidence thing!
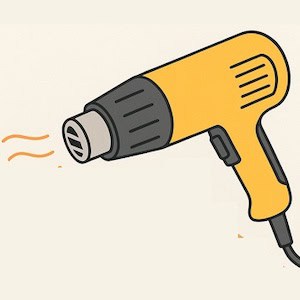
One of the most useful tools in this process is a heat gun. When used correctly, it softens hardened paint so it can be removed with minimal effort. Just be sure to use a model with adjustable temperature settings, too much heat can scorch or permanently damage the wood.
That said, heat isn’t always necessary.
What is the safest way to remove paint from wood floors?
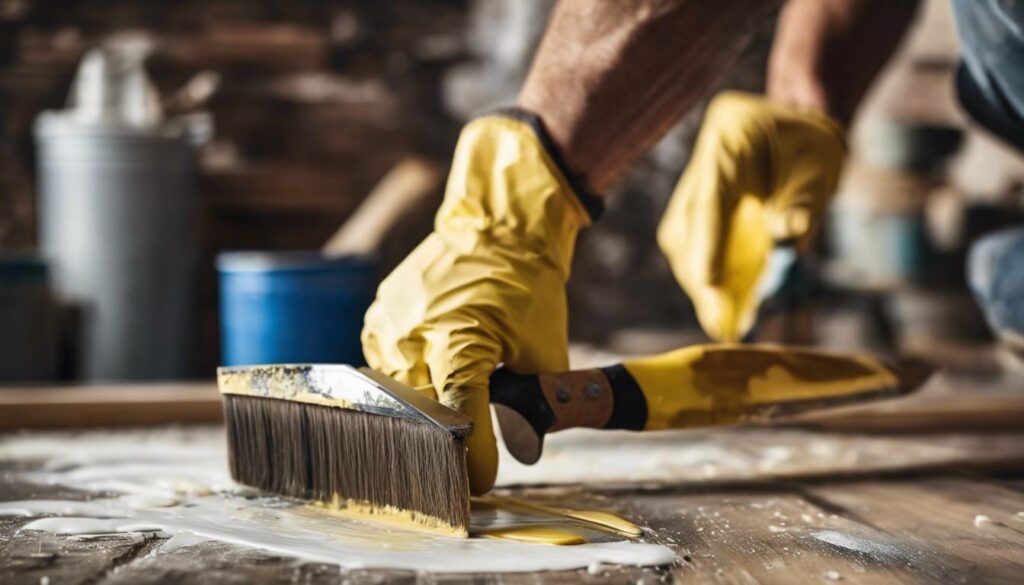
In most cases, the most effective and least aggressive method is a combination of hot, soapy water (Murphy’s Oil Soap or Dawn works well) and gentle scraping with a putty knife wrapped in a damp rag. This approach removes paint while protecting the wood underneath. If the paint proves stubborn or widespread, consulting a professional or refinishing the floors may be the best option.
How to Remove Paint From Wood Floors
Removing paint from wood floors isn’t a one-size-fits-all job. The right approach depends on how thick the paint is, how old it is, and the condition of the wood underneath. Before you start scraping or sanding, it’s important to gather the proper tools so you can work efficiently while minimizing the risk of damage.
Tools and Materials You’ll Need
Using the right tools is critical for removing paint without damaging your floors. Here’s what to have on hand:
Heat gun
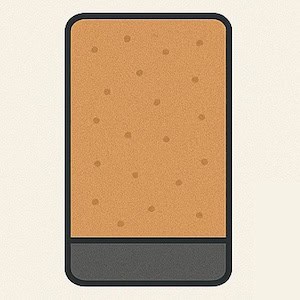
Sandpaper
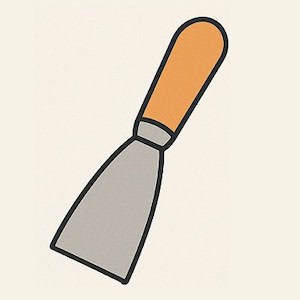
Scraper

Paint stripper
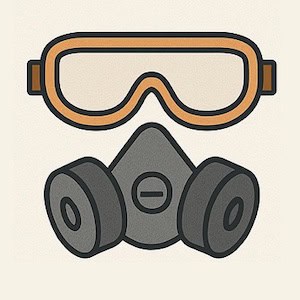
Protective gear

Drop cloths
Heat Gun
A heat gun softens paint, making it easier to scrape off. Choose one with adjustable temperature settings and work slowly to avoid scorching the wood. As the paint bubbles, it’s ready to be removed.
Sandpaper or a Sanding Machine
For stubborn paint or larger areas, sandpaper or a floor sander may be necessary.
- Use coarse grit (60–80) to remove thick layers of paint
- Switch to medium and fine grit (100–120) to smooth the surface
Scraper and Putty Knife
These are essential for detailed areas and edges. A metal putty knife works well, especially when used gently and at the correct angle.
Solvents or Chemical Paint Strippers
When heat and scraping aren’t enough, products like mineral spirits or paint strippers can help. Always use these in a well-ventilated area and follow manufacturer instructions carefully.
Protective Gear
Safety goggles, gloves, and a respirator mask protect you from dust, fumes, and debris.
Drop Cloths and Plastic Sheeting
Protect surrounding areas and furniture from paint chips and dust.
Protecting Your Workspace
Before you start removing paint, prepare the room properly.
- Clear the area: Remove furniture, rugs, and décor to give yourself space and prevent damage.
- Cover surfaces: Use drop cloths or plastic sheeting to contain dust and paint chips. Plastic works best for larger or messier projects.
- Protect nearby furniture: Cover anything you can’t move to avoid accidental splatter or dust buildup.
Proper preparation saves cleanup time and prevents unnecessary damage.
Sanding Technique for Paint Removal
If sanding is required, follow these steps:
1. Start With Coarse Grit
Use coarse-grit sandpaper (60–80) to remove the majority of the paint. Apply even pressure and work with the grain of the wood.
2. Move to Finer Grits
Switch to medium and fine grits (100–120) to smooth the surface and remove leftover paint residue.
3. Clean Thoroughly
After sanding, vacuum the area or use a tack cloth to remove dust. This prevents debris from settling back onto the freshly sanded surface and ensures the floor is ready for refinishing.
Using a Heat Gun to Remove Paint
A heat gun can be extremely effective when used carefully.
Prepare the Area
Clear debris, cover nearby items, and ensure good ventilation.
Apply Heat
Hold the heat gun several inches from the surface and move it slowly. Most paint softens between 400°F and 600°F. Once it bubbles, it’s ready to scrape.
Scrape Gently
Use a putty knife to lift softened paint. Work in small sections and remain patient to avoid scorching or discoloring the wood.
Think of it like fine craftsmanship, precision matters.
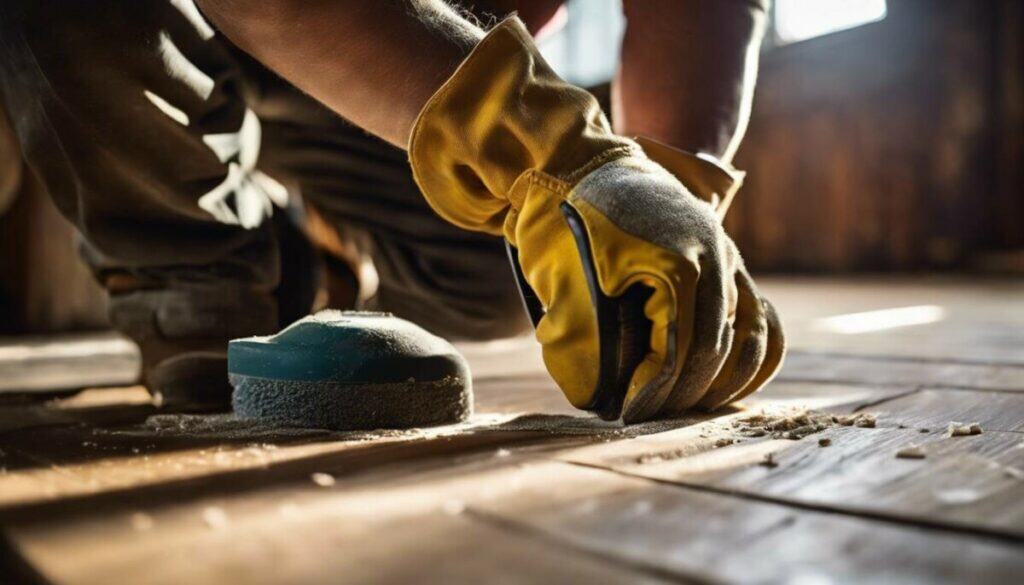
Effective Scraping Techniques
Scraping can be time-consuming, but done correctly, it’s very effective.
- Use a 3-inch metal putty knife
- Hold it at a 30–45° angle
- Apply gentle, consistent pressure (10–15 lbs)
- Work with the grain using smooth, controlled strokes
Divide the floor into sections and focus on one area at a time. Wear protective gear to stay safe.
Using Solvents and Chemicals
Solvents can break down stubborn paint but require caution.
- Work in a well-ventilated area
- Wear gloves, goggles, and a mask
- Always test a small, hidden area first
If the wood discolors or dulls during testing, don’t proceed. Follow all manufacturer instructions for application and disposal.
Post-Removal Cleaning and Finishing
Once the paint is gone, finishing properly ensures long-lasting results.
1. Clean the Surface
Vacuum or wipe the floor with a damp cloth to remove lingering dust and debris.
2. Inspect the Wood
Check for scratches, dents, or cracks. Light scratches can be sanded out; deeper damage may require wood filler.
3. Apply a Wood Finish
Restore and protect the floor with a stain or sealant. A quality finish enhances appearance and shields the wood from moisture and wear.
Final Thoughts
Removing paint from wood floors takes patience, the right tools, and a careful approach, but it’s absolutely doable. By following these steps and taking your time, you can restore your floors’ natural beauty and protect them for years to come.