Home maintenance is a regular chore, from sealing drafts to fixing leaks—it’s all part of the routine. Caulk has become my trusted friend, offering versatility and solutions for various tasks, from patching leaks to enhancing energy efficiency. I’ll will show you how to effectively use this sealant and its ideal applications, ensuring your home stays in good shape. Say goodbye to pesky drafts and leaks—let’s tackle those tasks effortlessly!
“The Caulk Chronicles: A Sealing Saga” is an informative article detailing the importance of caulking and sealing in home maintenance. The article provides tips on how to properly caulk and seal, including which tools and materials to use, and offers step-by-step instructions on tackling this important task. You will leave with a better understanding of how to maintain your home’s integrity and help prevent drafts, leaks, and moisture damage.

“Choosing the right caulk for your bathroom can be instrumental in preventing leaks and ensuring a long-lasting seal. As a Master Plumber, I would personally recommend a silicone-based caulk for its superior water resistance and durability. Remember, the right technique matters as much as the material: apply evenly, ensure there’s no missing sealant or gaps, and give it the right amount of time to dry before you start using it again.”
Valentino Rexworth, Master Plumber and Consultant
Understanding the Challenges of Caulk Maintenance
Maintaining caulk may seem like a simple task, but it comes with its own set of challenges. One common challenge is that caulk is constantly exposed to the elements, such as sunlight, rain, and temperature fluctuations – all of which can degrade its quality over time. As a result, regular inspection and maintenance are necessary to ensure the effectiveness of caulk in sealing gaps and preventing water infiltration.
Another challenge is that caulking materials can age and become less flexible, leading to cracks or gaps in the seal. This deterioration can occur due to normal wear and tear, exposure to harsh chemicals or cleaning agents, or simply the passage of time. Therefore, it’s crucial to monitor the condition of caulk regularly and address any issues promptly to avoid further damage.
Think of caulk maintenance like taking care of your skin – neglecting it can lead to dryness, cracks, and vulnerability to external factors. Regular care and attention are vital for both!
Identifying Common Caulking Issues
To effectively maintain caulk around your home, it’s essential to be able to identify common issues that may arise. By recognizing these problems early on, you can take proactive measures to prevent further damage and ensure the longevity of your seals.
One common issue is the presence of cracks or gaps in the caulk line. These openings can occur due to drying out, shrinkage, or movement in the surrounding materials. Cracked or gapped caulk compromises its ability to provide an effective seal, allowing moisture or air to penetrate and potentially cause damage.
Another issue is mold or mildew growth on or around the caulk. This can happen in areas where moisture tends to accumulate, such as bathrooms or kitchens. Mold not only affects the aesthetics of the caulk but can also indicate underlying moisture-related problems that need attention.
Imagine noticing black spots or a musty odor near the caulk in your shower. This could be a sign of mold growth, which requires immediate action to prevent further spreading and potential health hazards.
By being mindful of these common caulking issues, you can address them promptly and ensure the integrity of your seals, preventing potential water damage, energy loss, and other problems.
The Art of Applying Sealants
Applying sealants may seem like a straightforward task, but there is an art to achieving a proper and long-lasting seal. Whether you are sealing windows, doors, or other areas in your home, attention to detail and careful technique can make all the difference in the effectiveness of your sealant.
To begin, it is crucial to prepare the surface properly. This involves cleaning the area thoroughly to remove any dust, dirt, or debris that could interfere with the bonding process. A clean surface will ensure better adhesion and prevent any potential weak spots in the seal.
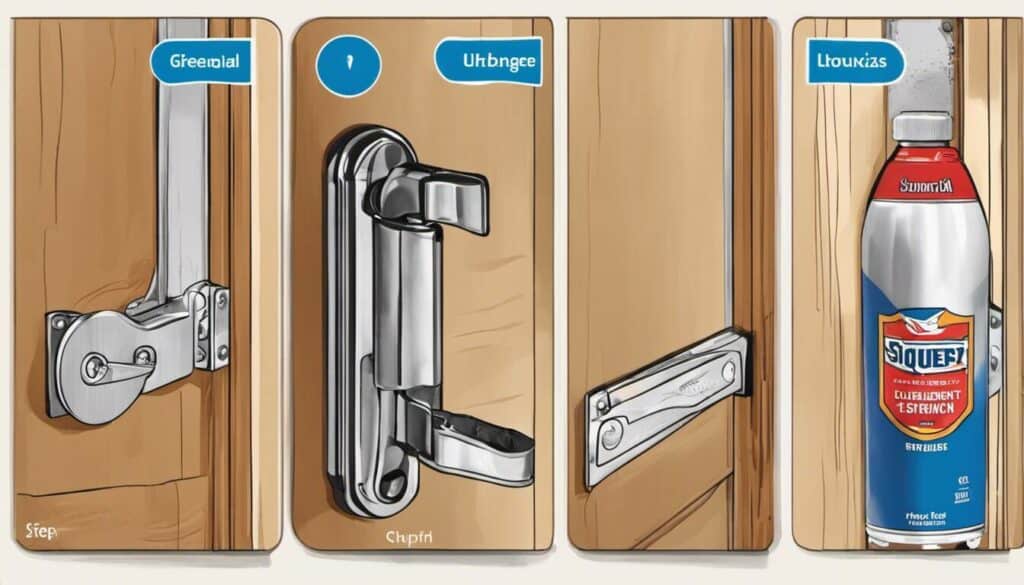
Next, you’ll want to consider the tools you use for applying the sealant. A caulking gun is essential for dispensing the sealant smoothly and evenly. It allows for better control and precision, resulting in a neat and professional-looking finish. Additionally, having a razor blade on hand can be helpful for cutting away any excess caulk after application.
When applying the sealant, it’s important to maintain a consistent and steady hand. Start by holding the caulking gun at a 45-degree angle and gently squeeze to release a continuous bead of caulk along the desired area. Take care not to apply too much pressure, as this can result in an uneven distribution or even damage to the surface being sealed.
For example, when sealing around windows, you want to ensure that the caulk forms a tight barrier between the window frame and wall. Starting from one corner, move along slowly while maintaining a consistent flow of caulk. Once applied, use your finger or a tool specifically designed for smoothing out caulk lines to achieve a seamless finish.
Remember that practice makes perfect when it comes to applying sealants. It may take some time and experimentation to find the right technique that works best for you. Don’t be afraid to seek guidance from professionals or watch tutorials online for visual demonstrations of proper sealant application.
Think of applying sealants as painting a masterpiece. Just as an artist carefully selects their brushes, colors, and strokes to create a beautiful composition, you too must choose the right tools and techniques to achieve a flawless seal.
Now that we’ve explored the art of applying sealants, let’s move on to the crucial step of choosing the right caulk for home repairs.
- Achieving a proper and long-lasting seal when applying sealants requires attention to detail and careful technique. Proper surface preparation, the right tools for the job, maintaining a consistent and steady hand, and achieving a seamless finish are all essential factors. Practice makes perfect, and seeking guidance from professionals or online tutorials can help improve your technique. Choosing the right caulk for home repairs is also crucial.
Choosing the Right Caulk for Home Repairs
When it comes to choosing the right caulk for your home repairs, it’s important to consider various factors such as the type of surface you are sealing, the location of the repair, and the specific needs of the project. With numerous options available in the market, selecting the appropriate caulk can greatly impact its longevity and effectiveness in sealing and waterproofing.
One key aspect to consider is whether you need a silicone-based or latex-based caulk. Silicone caulks offer excellent durability and resistance to moisture but are more challenging to work with due to their stronger adhesion. On the other hand, latex caulks are easier to apply and clean up but may not be as long-lasting in high-moisture areas.
Additionally, consider the flexibility required for your specific repair. Some caulks offer greater flexibility, making them ideal for areas prone to movement, such as corners or joints. Others may be better suited for filling cracks or gaps where flexibility is less critical.
Now that we understand some key considerations for choosing the right caulk for home repairs, let’s explore specific brands and product recommendations that have proven effective in various situations.
Benefits of Sealing Windows and Doors
When it comes to energy efficiency and home comfort, sealing windows and doors can have a significant impact. By properly sealing these openings, you can enjoy several benefits:
Energy Savings: Sealing windows and doors helps prevent drafts and air leakage, which can result in energy loss. This means your heating and cooling systems won’t have to work as hard to maintain a comfortable temperature, leading to lower energy bills.
Improved Comfort: Have you ever noticed a chilly breeze seeping in during the winter or warm air leaking out on hot summer days? By sealing windows and doors, you can eliminate these discomforts and create a more pleasant living environment all year round.
Reduced Noise: Properly sealed windows and doors act as a barrier against outside noise, making your home quieter and more peaceful. This is especially beneficial if you live in a noisy neighborhood or near busy streets.
Enhanced Indoor Air Quality: When windows are not adequately sealed, dust, pollen, and other outdoor pollutants can enter your home. By sealing these areas, you can minimize the intrusion of allergens and maintain better indoor air quality for you and your family.
Now that we understand the benefits of sealing windows and doors let’s dive deeper into one specific advantage: air tightness improvement with window sealant.
Air Tightness Improvement with Window Sealant
Window sealant plays an integral role in enhancing the air tightness of your home. When applied correctly, it forms a barrier that prevents unwanted air infiltration through gaps or cracks around the window frames. This has several positive implications:
Improved Energy Efficiency: Leaky windows are notorious for allowing drafts into your home, causing temperature imbalances and leading to increased energy usage. Window sealant fills those gaps effectively, minimizing air leakage and maximizing energy efficiency.
Prevention of Moisture Intrusion: Aside from air leakage, gaps around windows can also allow moisture to seep in during rainfall or high humidity. Over time, this water penetration can result in mold growth, rotting frames, and potential damage to your walls and insulation. Window sealant acts as a waterproof barrier, protecting your home from these issues and ensuring longevity.
Enhanced Comfort: By reducing drafts and eliminating cold spots near windows, a well-sealed window can significantly improve the overall comfort of your living space. Say goodbye to chilly drafts and hello to cozy nights indoors.
Imagine sitting by your window during a winter evening, curled up with a book and a cup of hot cocoa. With properly sealed windows, you can enjoy the view without feeling the chill creeping in.
Now that we’ve explored the benefits of sealing windows and the importance of using window sealant for air tightness improvement let’s move on to another essential aspect: waterproofing your roof with caulk.
Waterproofing Your Roof with Caulk
When it comes to maintaining a leak-free roof, caulking can be an invaluable tool in your arsenal. Not only does it help to seal gaps and cracks, but it also provides a protective barrier against water infiltration. Whether you have a shingle, metal, or flat roof, caulking can play a crucial role in waterproofing the vulnerable areas.
One of the most common areas where water can seep into your roof is around vents, chimneys, and skylights. These protrusions create openings that are susceptible to leaks if not properly sealed. By applying caulk around these areas, you can effectively prevent water from finding its way inside.
Imagine you have noticed water stains on your ceiling after heavy rainfall. You inspect your roof and discover that there are gaps around the chimney where rainwater is seeping through. This is where caulk can come to the rescue. By using high-quality roofing caulk designed for outdoor use, you seal those gaps, providing a watertight barrier that keeps your home dry and protected.
But before you grab your caulk gun and start sealing away, it’s important to prepare the surface properly. Think of it as painting a wall – you wouldn’t just slap on paint without cleaning and priming the surface first. Similarly, when caulking your roof, you need to remove any old or deteriorated caulk, clean the area thoroughly, and ensure it is dry before applying new caulk.
Once the surface is ready, load up your caulking gun with roofing caulk specifically designed for exterior use. This type of caulk is formulated to withstand harsh weather conditions and provide long-lasting protection against moisture intrusion.
Now comes the delicate part – applying the caulk in an even and smooth manner. Start by placing the tip of the caulk gun at the beginning of the gap or crack you want to seal. Squeeze the trigger gently, applying a consistent bead of caulk along the entire length. As you move the gun, maintain a steady motion to create an even line of caulk.
After applying the caulk, use a caulk smoothing tool or your finger (protected with a glove) to feather and smooth out the caulk line, ensuring it adheres well to both sides of the gap. This step is crucial for achieving a professional-looking finish and ensuring maximum effectiveness.
Let’s say you’re sealing gaps around a vent pipe on your roof. After applying and smoothing the caulk, take a step back to admire your work. You can now rest assured that rainwater won’t find its way through those gaps anymore.
Keep in mind that while caulking can provide temporary waterproofing solutions for roof issues, certain problems may require professional attention. If you’re dealing with extensive damage, severe leaks, or structural issues, it’s best to consult a roofing professional who can identify and address the root cause of the problem.
Waterproofing your roof with caulk is a cost-effective and practical approach to prevent water damage caused by leaks and cracks. By carefully preparing the surfaces, choosing high-quality caulk designed for outdoor use, and applying it correctly, you can ensure long-lasting protection for your home and peace of mind during heavy rainstorms. Remember to regularly inspect your roof for any signs of deterioration or potential areas needing re-caulking to maintain its watertight integrity.


Just last winter, I re-caulked my kitchen sink that was leaking, took three times to get it right, but it hasn’t leaked since!
Congrats on your non-leaking sink, Prudence! I too faced a similar challenge with my attic window last winter – took me a couple of tries but it eventually paid off, didn’t see a spec of frost inside all season.
I can relate to your experience, Pritchard. Last winter, I had my share of late-night caulking sessions with my old patio door that just wouldn’t stay sealed. After donning my overalls and armed with a caulk gun in hand, I spent hours trying to secure it! The payoff was great though, as it really held up against the heavy snow we experienced in March.
Trudy, remember patience is key when dealing with old wooden patio doors—you’ve done great! It was the same situation for me with my basement windows; they required constant maintenance but delivered satisfactory results long term.
Absolutely Friedrich, patience is a must when dealing with older woodwork; I’ve just spent last weekend re-sealing my attic windows—it’s an ongoing battle against time and weather, isn’t it?