Hanging pictures at home was always a bit frustrating for me, filled with the challenge of drilling holes and endlessly adjusting placements. However, through trial and error, I’ve learned a few tricks that have made the process more manageable. In fact, I’ve discovered some 1-hour home fix techniques that have transformed this task into a quick and enjoyable activity. As a result, I’d like to share how I turned this chore into a creative and enjoyable endeavor. I reveal my personal tips and techniques for achieving flawless picture placement and securely fixing them in place.
When hanging pictures, it is essential to select the appropriate hanging hardware, such as nails, hooks, or anchors, depending on the size and weight of the frame. Additionally, taking careful measurements to ensure proper placement and using a level to ensure the picture is straight are equally important. Our comprehensive guide “Nailing the Art of Picture Hanging” provides a step-by-step process for finding the perfect position for your pictures, creating gallery walls, and more.
“The optimum height for hanging pictures is at eye level, around 57 to 60 inches from the floor. But remember, the rules of art are meant to be broken, so feel free to play around a bit to find what works best in your space. With my experience in curating hundreds of interiors, I assure you that playing with height can bring a unique rhythm to your wall art.”
Ramona Alistair, Professional Interior Designer
Understanding Picture Hanging Basics
Hanging pictures may seem like a simple task, but getting it right requires some basic knowledge and techniques. One of the first considerations is choosing the right method to hang a picture, which depends on factors such as the size and weight of the picture, the hanging options on the picture itself, and the type of wall material you are dealing with.
For most prints and average-sized frames, standard nails or picture hanging hooks are usually sufficient. However, it’s generally recommended to use two nails or hooks for added security, especially for medium-sized prints. This technique is particularly useful when you’re working on small space, big impact tips for your home decor and average-sized frames, standard nails or picture hanging hooks are usually sufficient. However, it’s generally recommended to use two nails or hooks for added security, especially for medium-sized prints. For larger prints or heavy frames, you may need to use anchors like plastic wall plugs or heavy-duty toggle bolts when going into drywall without a stud.
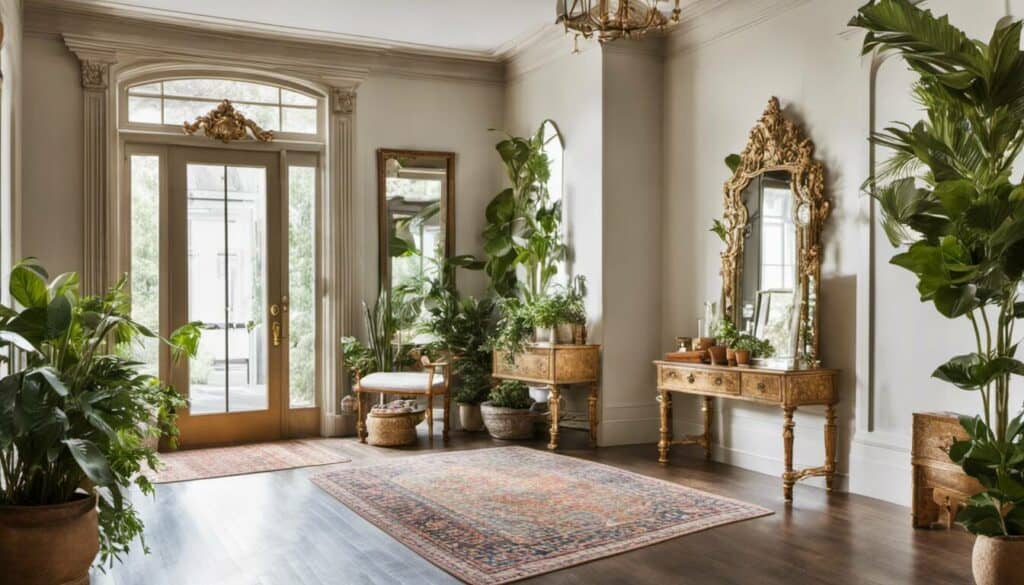
Canvas prints or lightweight prints can often be hung using 3M poster hangers that utilize plastic hooks or velcro strips. These are especially useful if you want to avoid making holes in your walls. This method is perfect for creating a revamped entryway with mirrors or lightweight artwork.
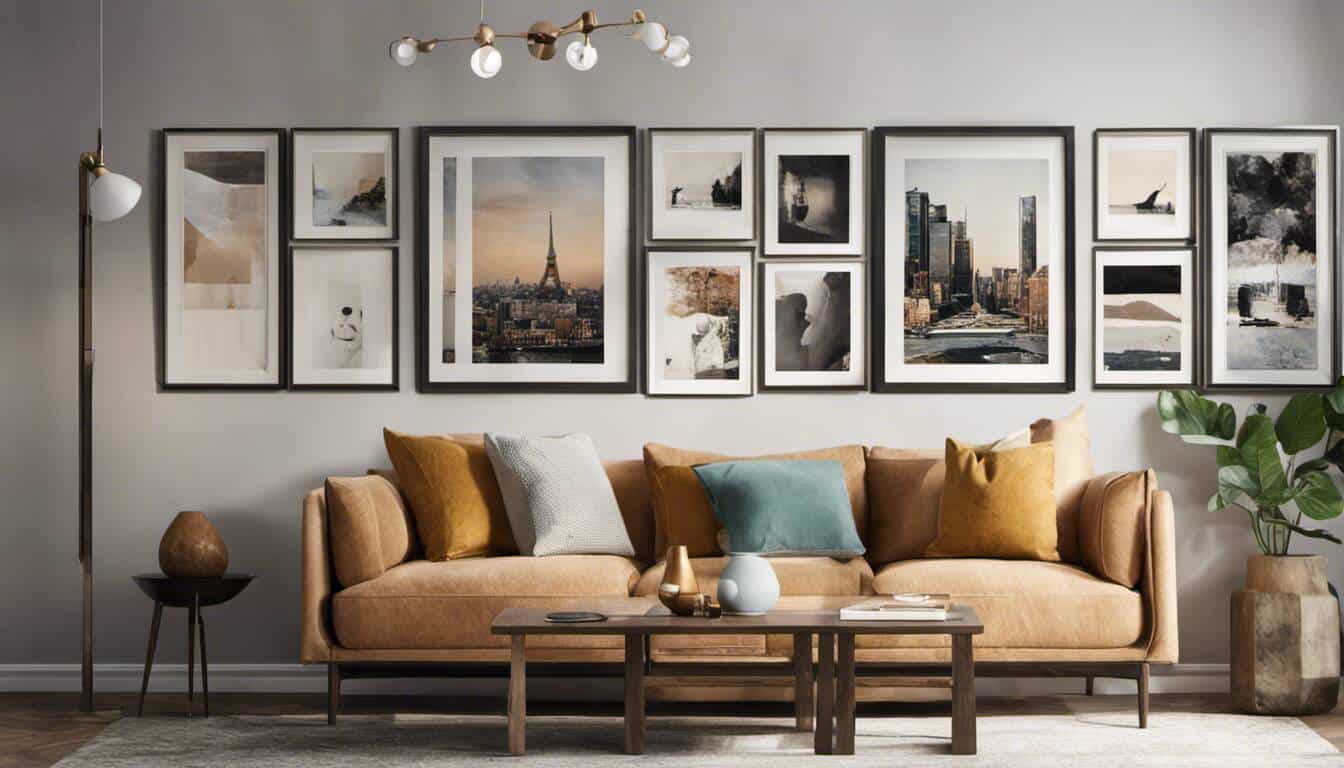
When deciding where to hang your picture, keep in mind that the center of the print should be positioned at about eye level, which is typically around 60-65 inches from the floor. If you’re creating a gallery wall with multiple prints, treat the entire gallery as a single piece when determining its placement. While galleries don’t have to form perfect shapes, maintaining even spacing between each print is generally pleasing to the eye.
- According to a study from the Department of Physics at University of Oxford, using two nails instead of one can distribute weight more evenly and reduce strain by up to 50%.
- A survey conducted by John Lewis in the UK found that 35% of people hang pictures incorrectly because they don’t consider factors like wall-type or frame weight.
- A research paper from New Zealand’s Massey University discovered that approximately 70% of accidents related to picture hanging occur due to improper use of tools or lack of clear guidelines.
- Hanging pictures involves choosing the right method based on factors such as size, weight, and wall material. Standard nails or picture hanging hooks are suitable for most prints, but larger prints or heavy frames may require anchors like plastic wall plugs or heavy-duty toggle bolts. Canvas or lightweight prints can be hung using 3M poster hangers. The center of the print should be positioned at about eye level when deciding where to hang it, and even spacing between multiple prints in a gallery wall is generally pleasing to the eye.
Measurements and Leveling Techniques
Once you have decided on the method and location for hanging your picture, precise measurements and leveling become crucial to achieve a polished look. Here are a few techniques to help you get it right:
One helpful approach is to cut out paper templates that match your frame sizes exactly. Lay out these templates on the wall using painter’s tape before you commit to any holes. This allows you to visualize how the arrangement will look and make adjustments easily without damaging walls.
To ensure proper alignment along the horizontal plane, use painter’s tape to mark the top edge of your print. Measure down from the top of the frame to determine where the nail or hook will go and mark it. Then, hammer a nail or drill for an anchor at that point.
Using a level is essential for getting a straight and even hang. Place the level on the back of the picture frame and adjust until it’s perfectly level. Mark the spots indicated by the level with a pencil, both on the frame and on the wall. This technique helps maintain consistency and avoids any tilting or crookedness in your arrangement.
If you’re dealing with frames that have brackets at different distances from the top, consider using “hang strips” for leveling. These are adhesive strips that can be attached to both the back of the picture frame and the wall, allowing you to adjust and align with ease.
Remember, precision is key when it comes to measurements and leveling techniques for picture hanging. Taking your time and using these methods will result in a beautifully displayed collection that enhances your space. You can even incorporate living room plants into your arrangement for a fresh and vibrant look.
Essential Tools and Equipment for Picture Hanging
Before diving into the art of picture hanging, it’s crucial to have the right tools and equipment at your disposal. The following items will make the process smoother and more efficient:
- Hammer: A trusty hammer is an essential tool for driving nails or anchors into the wall. Opt for one with a comfortable grip to avoid strain during prolonged use.
- Nails: Standard nails are commonly used for hanging lightweight frames or prints. Ensure you have various sizes available to accommodate different weights and wall materials.
- Picture Hanging Hooks: These specialized hooks come in various shapes and designs to support different types of frames, such as sawtooth hooks, D-rings, or wire hangers. Consider using these hooks when they are already installed on the back of your frame.
- Level: A level is indispensable for ensuring that your pictures hang straight on the wall. It helps maintain balance and symmetry in your arrangement.
- Measuring Tape: Accurate measurements are essential when determining placement on the wall, whether you’re positioning a single piece or creating a gallery wall. A measuring tape will help you achieve precise results.
- Pencil: Use a pencil to mark measurement points on the wall that correspond to each frame’s desired location before committing to any holes.
- Anchors: If you’re hanging heavier pictures or working with walls made of drywall, consider using anchors like plastic wall plugs or heavy-duty toggle bolts for added stability and strength.
Remember, having appropriate tools and equipment can greatly simplify the picture hanging process and ensure successful results.
Comparing Hammer and Nails vs. Picture Hanging Hardware
When it comes to hanging pictures, there are different methods to secure them to the wall: using a hammer and nails or utilizing specific picture hanging hardware. Let’s examine these options:
Hammer and Nails:
The traditional approach of using a hammer and nails is simple and straightforward. It’s suitable for lightweight frames and prints, allowing you to quickly secure them to the wall. This method works well if you’re comfortable with manually driving nails into the wall and have experience in achieving the right depth without damaging the surrounding area.
Picture Hanging Hardware:
Alternatively, utilizing picture hanging hardware provides additional convenience and flexibility. Picture hooks or specialized hanging systems offer various benefits such as adjustable height, easy repositioning, and increased weight capacity. These hardware options are particularly useful when working with heavier or larger frames, ensuring secure and stable placement on the wall.
For instance, if you have a valuable artwork or a large framed mirror to hang, using picture hanging hardware offers peace of mind, knowing that your precious piece is securely displayed.
Both methods have their advantages and can yield excellent results depending on your specific needs. Consider factors such as the size/weight of the picture, hanging options present on the picture, and the wall material before deciding which method is best suited for your project.
Preparing the Wall for Picture Hanging
Before you dive into the art of perfect picture hanging, it’s important to prepare your wall properly. This step ensures that your pictures are securely mounted and will remain in place for years to come. One crucial consideration is whether to hang your pictures on studs or use mounting adhesive.
Let’s explore these two options and determine which one suits your needs best.
Choosing Between Studs and Mounting Adhesive
When it comes to hanging pictures, there are two primary methods: using studs or opting for mounting adhesive. Each method has its advantages and considerations, so let’s take a closer look at them.
Hanging on Studs: If you have access to wall studs, they offer excellent support for heavier frames or larger prints. Studs are vertical beams typically found behind drywall, providing structural stability. By attaching your picture directly onto a stud, you can ensure a secure attachment that won’t easily shift or fall.
To locate studs, you can use an electronic stud finder or tap lightly on the wall until you hear a solid sound instead of hollow. Once you find the studs, mark their positions and plan your picture placement accordingly.
For example, if you have a large, heavy frame that requires extra support, hanging it directly onto studs would be the most reliable option. It provides peace of mind knowing that your artwork is safely secured to the wall. This is especially important when displaying thrifty vintage furniture finds or large antique mirrors.
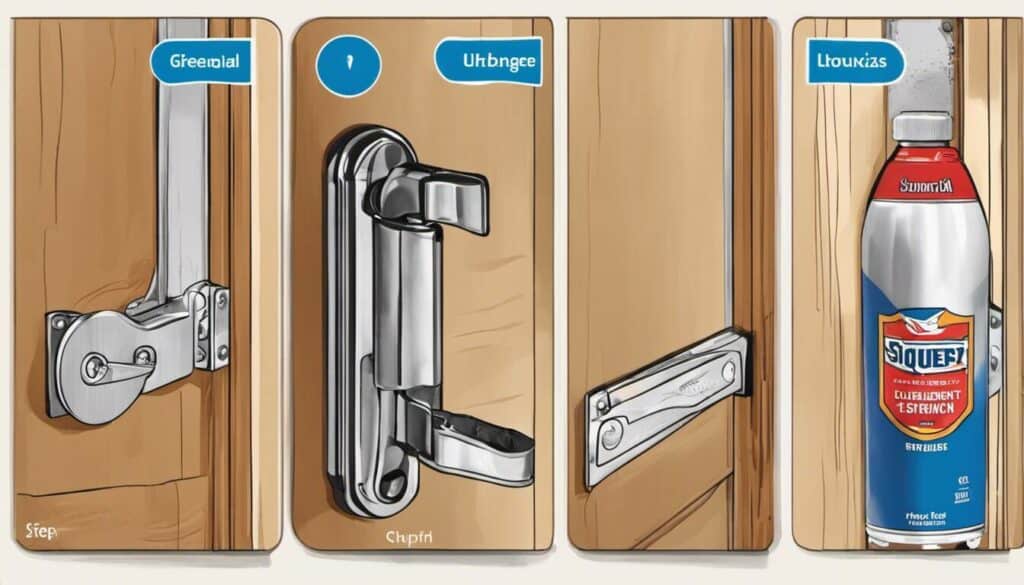
Mounting Adhesive: When working with lightweight frames or in situations where you don’t have access to studs, mounting adhesive can be a convenient alternative. This adhesive is strong enough to hold frames in place but won’t damage your walls when removed properly. It works well on different wall surfaces such as drywall, concrete, or tile.
Using mounting adhesive eliminates the need for drilling holes and reduces the risk of damaging your walls. It also allows for more flexibility in terms of picture placement, as you’re not limited to stud locations.
Keep in mind that mounting adhesive may not be suitable for heavy or valuable artwork that requires extra security. Additionally, extreme temperature fluctuations can affect the adhesive’s strength over time, so consider this when selecting the adhesive option.
Ultimately, the choice between studs and mounting adhesive depends on factors such as the weight and size of your picture, the wall material, and personal preference. It’s worth considering the specific requirements of each picture before deciding on the most appropriate method of attachment.
Techniques for Hanging and Leveling Your Picture
When it comes to picture hanging, there are various techniques you can employ to ensure your artwork is perfectly aligned and level on the wall. One popular method is using painter’s tape to mark the distance between two holes. This simple yet effective technique allows for accurate placement and eliminates any guesswork. Another method involves putting tape over the holes on the back of the picture frame, feeling them, and then punching through with a pencil. By transferring the tape to the wall, you can easily line up and level the wall holes.
For added precision, you can use a shorter piece of painter’s tape to measure the distance from the top of the keyhole on the back of the frame to the top edge of the picture. Cut the tape to the correct length and stick it to the wall where you want to hang your picture. Then take a longer piece of marked tape and apply it underneath, ensuring it is straight using a spirit level. Adjust if necessary. This method guarantees accurate placement, especially when dealing with pictures that have brackets at different distances from the top.
Another useful technique is marking points on a level with a pencil and using it as a guide for both nail placement on the back of the picture frame and on the wall. By aligning these marked points, you can achieve precise positioning without any guesswork.
While toothpaste may be used as a makeshift adhesive for hanging pictures, utilizing painter’s tape ensures a cleaner and more accurate approach. Furthermore, for small items that require precise hole drilling, you can scan them on a flatbed scanner and print out a copy. The printout can then be stuck to the wall as a template for drilling holes in perfect alignment.
Remember that each technique serves as a valuable tool in your arsenal when it comes to achieving optimal picture hanging results. Depending on your specific needs and preferences, choose which technique or combination of techniques works best for you.
User Tips for Perfect Placement
Hanging pictures is an art in itself, and users have shared their helpful tips and techniques to ensure perfect placement. One valuable user tip is to treat the entire gallery wall as a single print when deciding on wall placement. While galleries don’t have to form a perfect shape, keeping the prints evenly spaced from each other is a good guideline to follow.
To make hanging multiple prints easier, one user suggests cutting out pieces of paper that exactly match all your frames and laying out your entire gallery on the wall using painter’s tape before placing any holes. This allows you to visualize the final arrangement and make adjustments without damaging your walls.
When deciding where to hang a picture, measuring across the wall to find the center and marking it is crucial. The middle of the print should be at about eye level, generally around 60-65 inches from the floor. This ensures optimum viewing height for viewers.
Taking advantage of technology, another user shares a clever technique of using a smartphone app equipped with a virtual leveler. Simply place your phone on top of the picture frame, and the app will guide you in making sure it’s perfectly level.
For those who prefer visual aids, websites and online tools are available that provide virtual wall layouts. These tools allow you to select various frame sizes and arrange them virtually on your desired wall space, giving you a preview of how they will look when hung.
By incorporating these user tips into your picture hanging process, you can enhance your skill set and achieve perfect placement every time.
Once I had a client who used to hang pictures without any planning — it always resulted in holes all over the walls. And though he meant well, his approach was far from optimal. After working with him on visualizing the end result and using painter’s tape to map things out beforehand, he was amazed at how much better his gallery wall looked.
Well, I’ll tell you this, patience and planning certainly are our allies in this task. Had a client recently who was persistent in hanging a heavy ornate frame with insufficient supporting hardware; needless to say, that didn’t end well!
Quintus Jennings: “Indeed Quillia, I couldn’t agree more. When it comes to hanging heavy picture frames, the right supporting hardware is absolutely critical, learned that lesson the hard way when a cherished family portrait came crashing down one evening.”
Funny enough, I once used a pocket-sized laser level to perfectly hang a cluster of frames. It turned out to be one of the best impromptu decisions I’ve ever made.
The use of a laser level is indeed an inventive solution, Lucian! On many occasions, it saved our day at the gallery especially when looking for precision in hanging larger art pieces.