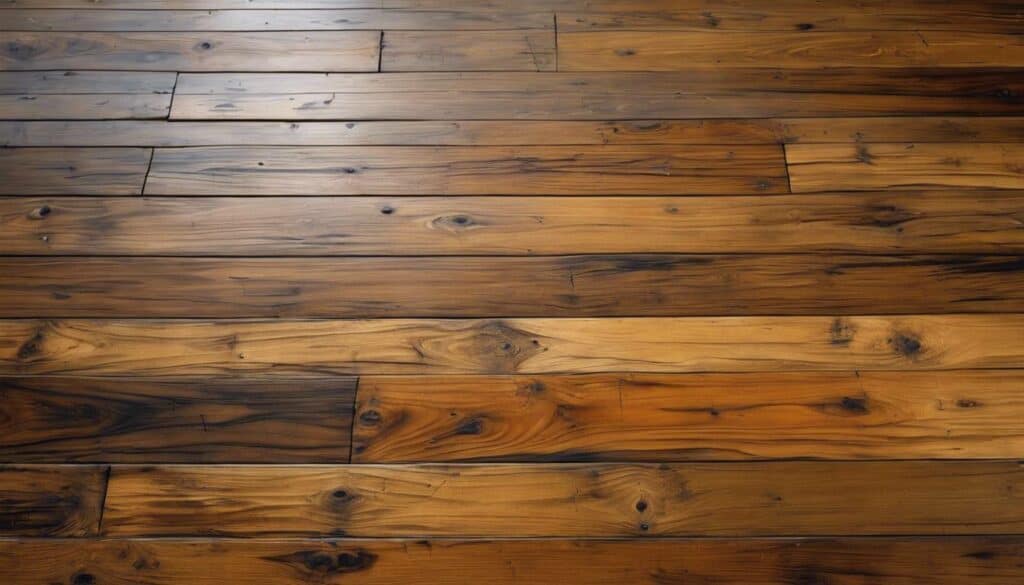
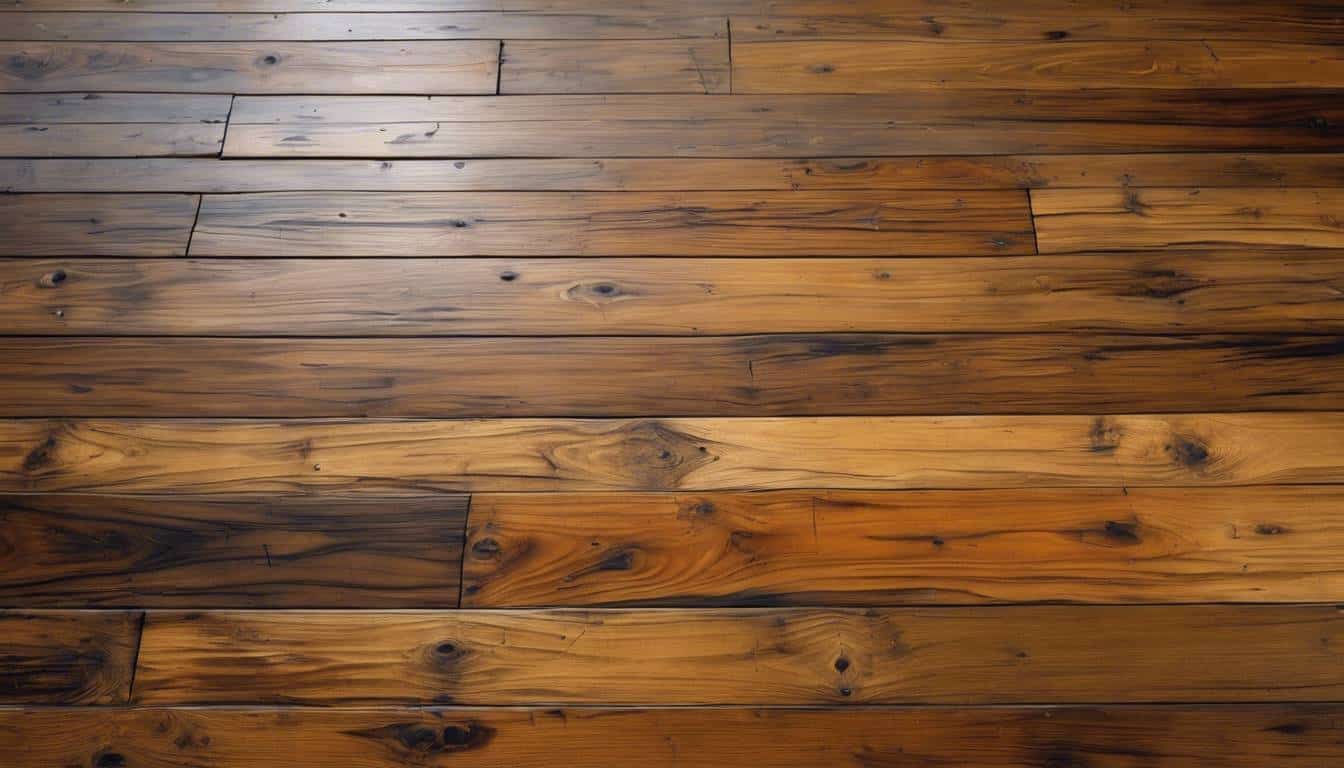
Sometimes it’s just better to replace than to refinish. Your hardwood floors might be past saving if you see symptoms like exposed nails, buckling boards, or hear constant squeaking. These signs point to overwhelming structural issues which indicate repairs may not have the needed impact. However, it doesn’t mean the end of the road for your floor. There’s a surprising turn – replacement. Yes, when restoration seems futile, replacing the hardwood floor completely is your viable option. Step into the world of hardwood floors anew.
If your hardwood floors are beyond repair, it may be time to consider a full replacement. Consult with a professional contractor to assess the extent of the damage and explore options for new flooring that best suits your needs and style preferences.
Spotting the Unsettling Signs of Irrepairable Hardwood Floors
When it comes to your hardwood floors, your eyes are your best allies. Take a good look around and pay attention to the condition of the floorboards. If you start noticing visible nails across a significant area of the floor, it’s a clear sign that your floors have seen extensive wear. Exposed nails are an indicator of deep-rooted wear and tear, likely beyond simple repair.
Moreover, keep an eye out for floorboards that seem to have a mind of their own – swaying, bending, shifting, or even buckling under the weight of daily use. These misbehaving floorboards signal severe structural issues that go beyond a quick fix.
It’s important to understand that while some squeaking is normal with wood floors as they age, widespread or persistent squeaking could be symptomatic of more serious underlying issues.
These unsettling signs should not be dismissed lightly. They put not just the aesthetics but also the safety and structural integrity of your home at risk. Ignoring these signs can exacerbate existing issues and lead to further deterioration over time.
For example, squeaky boards might seem like more of an annoyance than anything else, but they can still indicate minor signs of structural weakness. Meanwhile, swaying or bending floorboards might be a clue to water damage or foundation cracks underneath that can eventually require subfloor replacement.
Decision Time
Knowing when to make the call between restoration and replacement is crucial when faced with these unsettling signs. While restoration may seem tempting initially, it’s essential to weigh the costs against long-term sustainability.
Understanding these key indicators will help homeowners make well-informed decisions about whether restoration or replacement is the best way forward for their hardwood floors.
By understanding the signs that point towards irreparable hardwood floors, you’re better equipped to navigate the decision around restoration or replacement. Let’s now delve into weighing the pros and cons of each approach in detail.
Weighing the Pros and Cons of Restoration and Replacement
When deciding between restoring or replacing your hardwood floors, several important factors come into play.
Pros of Restoration:
Pros of Restoration |
|
|---|---|
Potentially Cost-Effective: |
If the damage is minor and localized, restoration can be a more budget-friendly option compared to full replacement. This is especially true for small areas that need refinishing rather than extensive structural repairs. |
Preserves Original Character: |
Restoration allows you to retain the original aesthetics and characteristics of the hardwood, maintaining the unique charm and history of your home. |
Cons of Restoration:
Cons of Restoration |
|
|---|---|
Limited Effectiveness: |
Restoration may not fully resolve structural issues or extensive damage. For instance, if the subfloor or underlying foundation is compromised, restoration alone may not be sufficient. |
Time-Consuming: |
The processes involved in restoration, such as sanding, repairing, and refinishing, can be labor-intensive and time-consuming. Multiple rounds of sanding and refinishing may also be necessary for deeply damaged floors. |
Considering these factors, the decision to restore the existing floors hinges on the extent of damage and whether it is feasible to address through restoration efforts. When dealing with minor wear and tear or localized damage, restoration can effectively extend the life of hardwood floors without sacrificing their original character.
Pros of Replacement:
Pros of Replacement |
|
|---|---|
Addressing Structural Issues: |
Replacement provides an opportunity to address underlying structural or foundational problems that cannot be effectively remedied through restoration alone. This can be critical for ensuring long-term stability. |
Modern Upgrades: |
Opting for replacement allows homeowners to install newer, more durable flooring materials that may provide improved longevity and performance. |
Cons of Replacement:
Cons of Replacement |
|
|---|---|
Higher Costs: |
Generally, replacement is more expensive compared to restoration, especially for large areas or instances requiring substantial structural repairs. Additionally, costs can increase further if there are other associated expenses such as subfloor replacement. |
Disruption: |
The process of replacing hardwood floors involves upheaval and temporary inconvenience during installation. Homeowners may need to vacate the area while work is being carried out, which can disrupt daily routines. |
Ultimately, when contemplating between restoration and replacement, it’s crucial to carefully evaluate the condition of the existing hardwood floors, consider long-term goals for your home, and weigh the trade-offs between cost-effectiveness and potential for structural enhancements. Each option presents distinct benefits and considerations that should align with both practical and aesthetic concerns.
From understanding whether restoration or replacement is the right path forward for your hardwood floors, we move on to navigating the complexities of sanding and refinishing these timeless beauties.
Navigating the Complex World of Sanding and Refinishing
Sanding and refinishing can work magic for your hardwood floors, breathing new life into them. It’s an intricate process that demands expertise but can deliver remarkable results. The process begins with sanding, which involves scraping off the top layer of wood to eliminate imperfections, smoothing out scratches, wear, and tear.
The Science Behind Sanding
The sanding process smooths out imperfections by removing a small layer of wood from the floor’s surface. This is akin to peeling off the top layer of an apple to reveal a pristine interior. However, excessive sanding can compromise the integrity of the flooring by reducing the amount of wood that supports the structure—especially significant for older hardwood floors with existing wear.
The Art of Refinishing
Once sanding is complete, refinishing comes into play. This step involves applying a fresh coat of stain or sealant, revitalizing the appearance of the wood while adding a protective layer. It’s like restoring the original luster and adding a protective coating to a beautiful antique table that’s been in your family for generations.
It’s important to acknowledge that this process isn’t suitable for all types of hardwood floors. For example, engineered wood flooring has limitations based on its wear layer, which determines how much it can be sanded and refinished. An expert assessment by a professional should be sought before undertaking such restoration projects to ensure it doesn’t cross over from restoration into replacement territory.
Overall, understanding the science behind sanding and refinishing, combined with an appreciation for its artistic aspects, can guide homeowners in deciding whether their hardwood flooring warrants restoration or replacement.
With insights into the intricacies of hardwood floor restoration, it’s time to assess the damages to your subfloor—a pivotal step in determining the right path forward for your flooring needs.
Assessing the Damages to Your Subfloor
Your subfloor is like the bones beneath the skin of your hardwood floor. If there’s damage to it, it can affect the surface you walk on every day. Commonly caused by water damage from leaks or flooding, subfloor issues are crucial in deciding whether restoration or replacement is the best course of action for your hardwood floors.
When water seeps into your home, it can cause warped floorboards, buckling, creaky spots, and even mold growth, potentially leading to subfloor damage. It’s important to inspect your subfloor carefully for any visible signs of deterioration.
Here’s what you should look for:
- Warping: Check for any parts of the floor that are higher or lower than others; this could indicate warping due to moisture.
- Creaky Spots: Listen for any areas that make noise when you step on them; this could mean water has damaged the integrity of the subfloor.
- Mold: If you notice musty odors or discoloration on your hardwood floor, this could be a sign of mold growth due to excessive moisture seeping into the subfloor.
Consulting with a professional who specializes in hardwood flooring is crucial if you notice any of these signs. They can provide an in-depth assessment and recommend the most appropriate course of action based on the observed damages.
Failure to address subfloor damage can lead to structural issues and further complications down the line, so it’s better to address these concerns sooner rather than later to prevent escalating costs and hassles.
This foundational step in understanding the role of the subfloor in maintaining the integrity of your hardwood surfaces puts you in a better position to make informed decisions regarding their upkeep and maintenance.
With a clearer picture of how subfloor damages impact your hardwood floors, let’s now move on to understanding the financial aspects of restoring versus replacing your beloved hardwood floors.
Understanding the True Costs: Restoration vs Replacement
When it comes to deciding between restoring or replacing your hardwood floors, there’s a lot to consider. Let’s break down the true costs for both options and guide you through making an informed decision.
It’s essential to weigh all the factors when determining the cost of restoration. Restoration costs depend on the extent of damage and any required specialized repairs or treatments. The cost to refinish hardwood floors typically ranges from $3 to $8 per square foot, including labor and materials. This means that the total refinishing cost for an average-sized room (200-250 square feet) can range from $600 to $2,000. These estimates can vary based on factors such as room size, floor condition, type of hardwood, type of finish, sanding and staining requirements, job complexity, labor costs, and geographical location.
For instance, the cost of refinishing different types of wood varies; oak might cost around $3.50 to $5 per square foot, while maple could cost around $4 to $6 per square foot. Exotic woods tend to have higher costs running from $5 to $8 per square foot.
On the other hand, replacement involves considering material costs, labor expenses, and potential additional costs for addressing underlying structural issues. The price per square foot for hardwood floor replacement typically ranges from $8 – $15, depending on the type of wood and complexity of installation. However, this estimate doesn’t include expenses associated with removing existing flooring or addressing subfloor issues.
Understanding these costs is like planning a budget – you want to be thorough and precise so there won’t be any surprises later. Just like mapping out travel expenses before a vacation ensures a smooth trip, going over both restoration and replacement costs will help you make a well-informed decision without unexpected financial hiccups. Additionally, protecting your hardwood floors can help extend their lifespan and potentially reduce long-term costs.
Moreover, obtaining multiple quotes is crucial in evaluating the true costs of both options. It’s like getting opinions from different doctors before deciding on a course of treatment – you want to be sure you’re making the best choice for the long-term health of your hardwood floors.
When considering the true costs of restoration versus replacement, it’s important to factor in not just the immediate expenses but also the long-term durability and value each option offers. Restoration may enhance the character and charm of original hardwood floors, adding value to your home while replacement can provide an opportunity to explore different styles and materials that resonate better with your vision for your living space.
As we navigate through the intricacies of maintaining hardwood floors, let’s now move on to exploring another avenue—completely replacing hardwood floors when all else fails.
When All Else Fails – A Guide to Complete Hardwood Floor Replacement
Sometimes, despite our best efforts, hardwood floors can become irreparably damaged and worn out. This may be due to years of use, water damage, or structural issues that have compromised the integrity of the flooring. In such cases, replacing the floors becomes necessary to restore the beauty and functionality of your home.
Selecting New Flooring Materials Choosing the right material for your new floors is crucial. Consider factors such as durability, maintenance requirements, and how well it complements your home’s interior design. Traditional solid hardwood remains a popular choice for its timeless appeal and ability to be refinished multiple times, while engineered hardwood offers greater resistance to moisture and temperature changes.
Preparing the Subfloor Proper preparation of the subfloor is essential before the new flooring can be installed. Address any issues with the existing subfloor, ensuring it’s level and free from moisture or structural concerns. A properly prepared subfloor is vital for the longevity and performance of your new hardwood floors.
Professional Installation Services Enlisting the services of professional flooring installers could be beneficial. They have the expertise and tools to ensure that the new floors are installed correctly, minimizing the risk of future issues and maximizing the lifespan of your investment. For instance, in regions where humidity levels fluctuate significantly throughout the year, engineered hardwood might be a better choice due to its enhanced stability and resistance to moisture-related damages.
When replacing your hardwood floors, it’s crucial to consider any improvements or changes you’d like to make in terms of aesthetics and functionality. This could be an opportunity to explore newer flooring options or alternative materials that align with your specific needs. Don’t forget to research the best ways to clean and maintain your new wood floors to ensure their longevity.
As you weigh your options for replacing your hardwood floors, consider reaching out to professionals in the industry who can offer expert advice and guidance on selecting the right flooring materials and installation services for your home. And for a convenient shopping experience, explore AmazingHomeDecorCo’s range of high-quality flooring materials through our trusted affiliate partners.
In conclusion, when it comes to complete hardwood floor replacement, thorough planning and informed decision-making will lead to long-lasting satisfaction with your updated home décor. Remember that seeking professional guidance and exploring diverse material options can pave the way for a successful transformation.


